
How to make 3Blue1Brown-style maths animations with Claude and Manim
November 5, 2026 · 9 min read
The 3Blue1Brown style of maths explanation is instantly recognisable: a dark background, crisp white and blue geometry, equations that rearrange themselves, and above all one object that transforms into the next so the viewer never loses the thread. Grant Sanderson built Manim, the Python library behind it, and released it as open source; a community edition is maintained separately and is what most people install today.
Claude writes Manim code fluently, which made this one of the earliest formats people tried with it. It also has a specific failure mode that every published method fights: objects drifting off screen and labels piling on top of each other. This tutorial covers how to get past that, and how to make the maths right before the animation is pretty.
What makes the style work
- Continuity: a square becomes the area under a curve, a dot becomes a vector, an equation's terms move to where they belong. Transformations, not cuts.
- One idea at a time on screen, introduced in the order a learner needs it.
- Colour as meaning: each quantity keeps its colour across every scene.
- Equations that are typeset properly (LaTeX) and change one term at a time.
- A narrator who explains rather than hypes, at a pace that leaves time to look.
What creators published
Min Choi (@minchoi) shared a Manim prompt back in the Claude 3 days that is still the clearest list of layout rules for this job: group related objects, scale groups to fit, position relative to other objects and the frame edges with sensible buffers, put labels next to what they label, keep narration text in short segments at the bottom, use arrange for even spacing, and set the frame size for the aspect ratio. He was candid that it took a few iterations and was still not perfect.
Lior Alexander (@LiorOnAI) posted a widely viewed clip of Claude making a 3Blue1Brown-style animation, answering "by the library" when asked how. Replies pointed to Math-To-Manim, an open-source project that stages the work: understand the question, map prerequisites, design the curriculum, validate the maths with numerical checks, storyboard, write scenes, then audit rendered frames. Its current version orchestrates other models, but the staging is the transferable idea.
Deedy (@deedydas) lists Manim alongside HyperFrames and Motion Canvas in his explainer workflow and adds a note about narration that applies perfectly here: tell Claude to avoid its habit of short punchy sentences and lots of numbers, and to "Narrate like a university professor." The huashu-art-motion skill summarises the style for maths and AI concepts as one shape morphing into the next.
Step 1: plan what the viewer must already know
Most bad maths explainers fail before any animation: they assume something the viewer does not know. Start by asking Claude for the chain of prerequisites from the concept back to something a general viewer already understands, then cut it to what fits the length. For a 60 second Short, that is usually one prerequisite and one idea. For a ten minute video, three or four steps.
Planning prompt (our wording)
Concept: why the area under 1/x from 1 to e is exactly 1.
Audience: curious adults, school maths, no calculus assumed.
1. List the prerequisites from this concept back to things the
   audience knows. Mark which ones a 60 s Short can cover.
2. Propose ONE visual through-line: the object that transforms
   from the first shot to the last.
3. Write the derivation with numerical checks I can run.
4. Write a 140-160 word narration, explanatory, not punchy.
5. Storyboard: one row per narration sentence, what is on screen,
   what transforms into what. No code yet.
Step 2: verify the maths before animating
Ask Claude to check every claim numerically in plain Python before any scene exists: evaluate the integral, check the limit, compute the example values you will show. It is far cheaper to catch a sign error here than in a rendered scene, and a maths video with a mistake in it will be corrected in the comments within minutes. If a step is an approximation or an intuition rather than a proof, say so in the narration.
Step 3: layout rules that keep everything on screen
The classic Manim failure is geometry that runs off the frame and labels that overlap. Put the rules in the prompt (or your CLAUDE.md) every time, in the spirit of Min Choi's list:
- Build related objects as one group and scale the group to fit a known region of the frame.
- Position everything relative to something: next to another object, or to a frame edge with an explicit buffer. Never absolute coordinates guessed by eye.
- Labels go next to the object they name, with a buffer, in a contrasting colour.
- Narration text, if shown, is short segments in a reserved strip at the bottom; titles in a reserved strip at the top.
- Use arrange for rows and columns so spacing is even.
- Set the frame for the aspect ratio before laying anything out, and test at that size.
- After rendering, check stills for anything outside the safe area.
Step 4: vertical Manim for Shorts
Manim defaults to landscape. For a Short, set a 1080 by 1920 pixel frame and adjust the frame width and height so units map to the taller shape, then design for it: stack things vertically, keep equations short enough to fit the narrow width at a readable size, and reserve the bottom quarter for captions and platform buttons.
A vertical scene with one continuous transformation
from manim import *
config.pixel_width, config.pixel_height = 1080, 1920
config.frame_width = 9
config.frame_height = 16

class AreaIsOne(Scene):
    def construct(self):
        ax = Axes(x_range=[0, 3.2, 1], y_range=[0, 2.2, 1],
                  x_length=7.5, y_length=5).shift(UP * 2)
        curve = ax.plot(lambda x: 1 / x, x_range=[0.45, 3.2], color=BLUE)
        square = Square(1.5, color=YELLOW, fill_opacity=0.5).next_to(ax, DOWN, buff=1)
        area = ax.get_area(curve, x_range=[1, np.e], color=YELLOW, opacity=0.5)
        label = MathTex(r"\int_1^e \frac{1}{x}\,dx = 1").next_to(ax, DOWN, buff=0.8)

        self.play(Create(ax), Create(curve), run_time=1.2)
        self.play(FadeIn(square, shift=UP * 0.3))
        self.play(ReplacementTransform(square, area), run_time=1.6)  # one becomes the other
        self.play(Write(label))
        self.wait(1.2)
Render a quick preview with low quality flags while iterating, and the final at full quality. Keep each scene short; a Short is often two or three scenes stitched with ffmpeg.
Step 5: time animations to the narration
Manim animations have run times, not timestamps, so syncing to voice takes a deliberate step. Generate or record the narration first, get word times (from ElevenLabs timestamps or a whisper-based alignment against your script), and then have Claude set each animation's run time and the waits between them so that each transformation starts on the sentence that describes it. A small helper that waits until a given word's time keeps this readable.
Waiting for a word
WORDS = json.load(open("words.json"))   # [{"w": "area", "t": 3.42}, ...]
def wait_until(scene, word):
    t = next(x["t"] for x in WORDS if x["w"].lower() == word)
    if t > scene.renderer.time:
        scene.wait(t - scene.renderer.time)

# in construct():
wait_until(self, "becomes")
self.play(ReplacementTransform(square, area), run_time=1.6)
Step 6: the canvas alternative
You do not need Manim to get the look. A plain HTML canvas with a seek(t) function can draw axes, curves, areas and morphs, and has the advantage that any frame can be rendered alone, which makes review and timing easier. One vendor's public test of 48 videos across seven tools concluded that the framework barely changed the result when Claude knew it well; what changed results was the brief and the review loop. Use Manim when you want its LaTeX and its transformation library; use canvas when you want precise frame-level control and the same pipeline as your other videos.
A morph in canvas: interpolate the shape, not the picture
// square corners -> points sampled along the area's outline
const A = squarePoints(64), B = areaOutline(1, Math.E, 64);
window.seek = (t) => {
  const u = ease(clamp((t - 3.4) / 1.6));
  ctx.beginPath();
  A.forEach((p, i) => {
    const x = p.x + (B[i].x - p.x) * u, y = p.y + (B[i].y - p.y) * u;
    i ? ctx.lineTo(x, y) : ctx.moveTo(x, y);
  });
  ctx.closePath(); ctx.fill();
};
Step 7: narration that explains
The narration is where maths Shorts most often go wrong in the opposite direction: so eager to hook that they never explain. Ask for an explanatory voice with complete sentences, Deedy's university professor, and limit numbers to the ones that appear on screen. Pause after the key transformation; silence while the viewer looks is part of the explanation. Write numbers in both caption and spoken form so the voice reads equations naturally.
Step 8: review the frames
Render a contact sheet and look for the usual problems: something outside the frame, overlapping labels, a colour that means two things, an equation too small at phone width, a transformation that cuts instead of flowing. Then watch at normal speed and ask whether each animation starts on the sentence that explains it. Our post on the critic loop has a review prompt you can adapt.
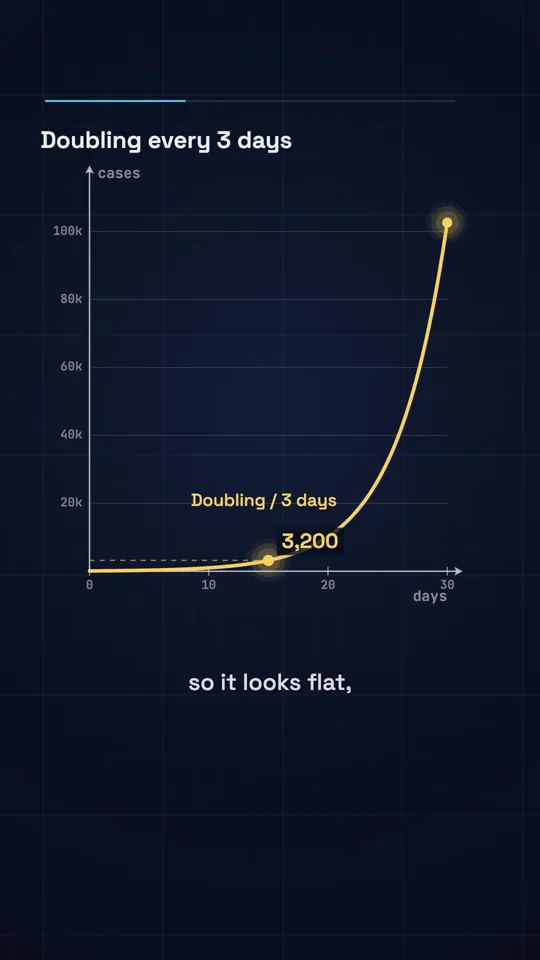
Diagram explainer · 41 s
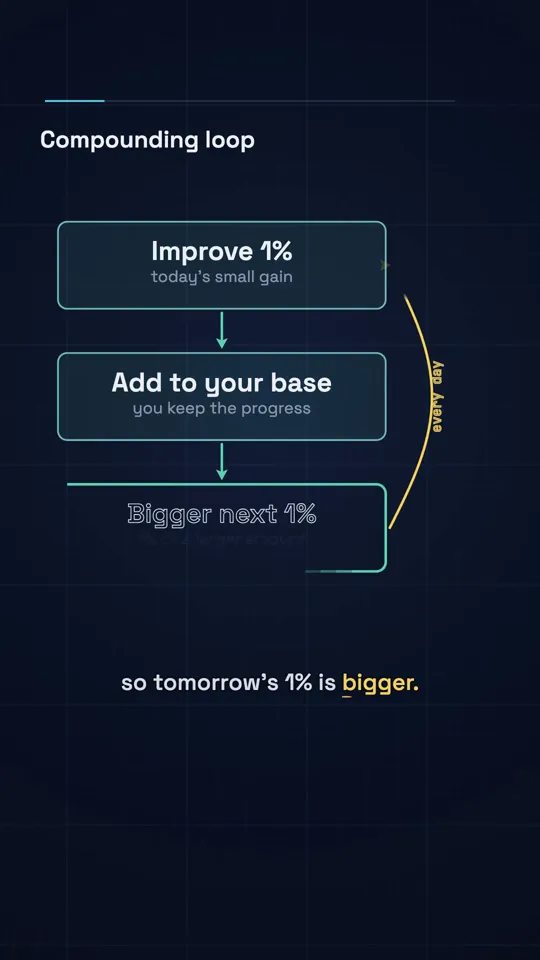
Diagram explainer · 41 s
A worked example, end to end
Here is how the steps fit together for one 45 second vertical Short on why the area under 1/x from 1 to e equals one. Planning settles on one prerequisite (area under a curve as adding thin rectangles) and one through-line (a yellow square that becomes the shaded area). Verification runs the integral numerically and checks the value of e to a few decimals before anything is drawn. The narration is about 120 words, written as explanation: what area means, what makes this curve special, and why the answer is exactly one rather than roughly one.
The storyboard has five rows. Axes and the curve draw on the first sentence. The square fades up on "imagine one unit of area". On "becomes" the square transforms into the region under the curve between 1 and e. The equation writes itself on the sentence that states the result. The last two seconds hold on the finished frame while the narrator lands the idea. Word times from the voiceover set every wait. The contact sheet shows one problem, the equation crowding the bottom caption strip, fixed by moving the axes up half a unit. That is the whole loop, and every later Short in the series reuses the frame setup, colours and timing helper.
Pitfalls
- Animating before the maths is checked.
- Absolute positions guessed by eye, so things fall off the frame.
- Labels without buffers, so they collide.
- Cuts where a transformation would explain more.
- A colour reused for two different quantities.
- Hype narration with no explanation in it.
- Landscape layouts squeezed into a vertical frame.
- Using another channel's characters or exact scenes. The style is open; their videos are theirs.
Cost and time
Manim, LaTeX, Python and ffmpeg are free. The cost is Claude usage and render time, which is modest for 2D scenes. The slow part is planning and verification, and that is time well spent. A focused 60 second Short with one transformation is a good first project; a long explainer is a series of short scenes built and reviewed one at a time.
Doing it in about 3 minutes with WhatToUpload Video Studio
Diagram explainer, one of the three styles live in Video Studio alongside Kinetic type and Ink stickman (with more being added), is our take on this kind of video: type one sentence and Claude writes the script and storyboard, our renderer draws graphs and diagrams as code as the narration explains them, ElevenLabs voices it, and captions and sound are timed, in about three minutes. It does not render LaTeX derivations like Manim, but it handles curves, growth, comparisons and live numbers.
A 30 second video is 26 to 30 credits, and plans are $19, $49 and $99 a month.
Sources and methodology
Built from creators' published posts and articles on X and the linked open-source projects, read in November 2026. The planning prompt and code are our own examples.
- 01Min Choi (@minchoi): Claude and Manim, with the layout promptThread, Mar 19, 2024.
- 02Lior Alexander (@LiorOnAI): 3Blue1Brown-style animation with ClaudeJan 27, 2026.
- 03Math-To-Manim (HarleyCoops)Open source staged pipeline, MIT.
- 04Deedy (@deedydas): video workflow with Manim and narration notesSep 29, 2026.
- 05Vox (@Voxyz_ai): explainer styles in huashu-art-motionOct 12, 2026.
- 06Motion (@motion_so): 48 videos, 7 toolsX Article, Nov 4, 2026. Vendor test; their claims.
- 07Manim Community
Frequently asked questions
Can Claude write Manim code?
Yes, fluently. Give it explicit layout rules (grouping, scaling, relative positioning with buffers, reserved text areas) to avoid objects leaving the frame, and verify the maths separately before animating.
How do I make Manim videos vertical for Shorts?
Set the pixel size to 1080 by 1920 and the frame width and height to match the taller shape, then design for it: stacked layouts, short equations, and space reserved for captions.
How do I sync Manim animations to a voiceover?
Get word timestamps for the narration, then set waits and run times so each animation starts at the word that introduces it. A helper that waits until a given word's time keeps this manageable.
Is Manim better than HTML canvas for maths videos?
Manim has excellent LaTeX and transformation tools; canvas gives frame-level control and the same pipeline as other code-made videos. Either works; the plan and the review loop matter more.